> For the complete documentation index, see [llms.txt](https://spacecore.gitbook.io/wiki/llms.txt). Markdown versions of documentation pages are available by appending `.md` to page URLs; this page is available as [Markdown](https://spacecore.gitbook.io/wiki/en/windows/installing-via-qemu.md).
# Installation via QEMU
{% hint style="danger" %}
### This content is outdated
**The knowledge base has moved →** [**https://wiki.spacecore.pro/**](https://wiki.spacecore.pro/)
This wiki is no longer updated. All current guides and articles are at the new address.
{% endhint %}
{% content-ref url="" %}
{% endcontent-ref %}
***
Consider how to install Windows on any dedicated server with any processor that supports KVM.
First we need to start the server in Resque mode. Login.
Go to `/tmp` directory:
```
cd /tmp
```
Download vKVM software:
wget https://mirror.spacecore.info/software/vkvm-latest.tar.gz && tar xvf vkvm-latest.tar.gz
Download the OS image we need:
```
wget https://mirror.spacecore.info/os/windows/Windows_10_x64_1909.iso
```
{% hint style="info" %}
A full list of operating systems can be found on our mirror:
{% endhint %}
Next, run the software:
```
/tmp/qemu-system-x86_64 -net nic -net user,hostfwd=tcp::3389-:3389 -m 10000M -localtime -enable-kvm -cpu core2duo,+nx -smp 2 -usbdevice tablet -k en-us -cdrom Windows_10_x64_1909.iso -hda /dev/nvme0n1 -vnc :1 -boot d
```
{% hint style="warning" %}
After the argument «-cdrom» you need to specify the name of your OS image. And after «-hda» - the name of the disk on which you will install.
{% endhint %}
{% hint style="warning" %}
If you encounter a gender error: «cannot set up guest memory 'pc.ram': Cannot allocate memory»
Its solution will be to change the parameter «-m 10000M» to MegaBaite value, which is available in your system.
{% endhint %}
{% hint style="success" %}
If the command succeeds, there will be no response and the KVM process will start in the active window.
{% endhint %}
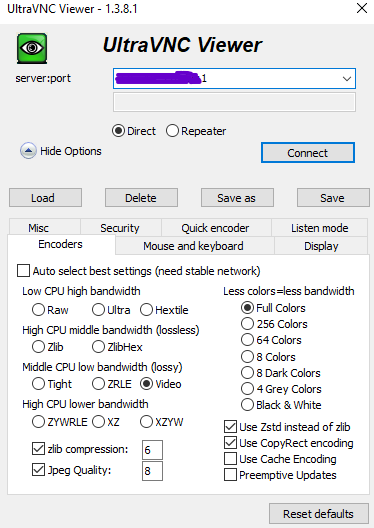
Next, we install and run [UltraVNC](https://uvnc.com/downloads/ultravnc.html). In it we enter in the input field the address of our server + port «1» in the format: «IP:1».
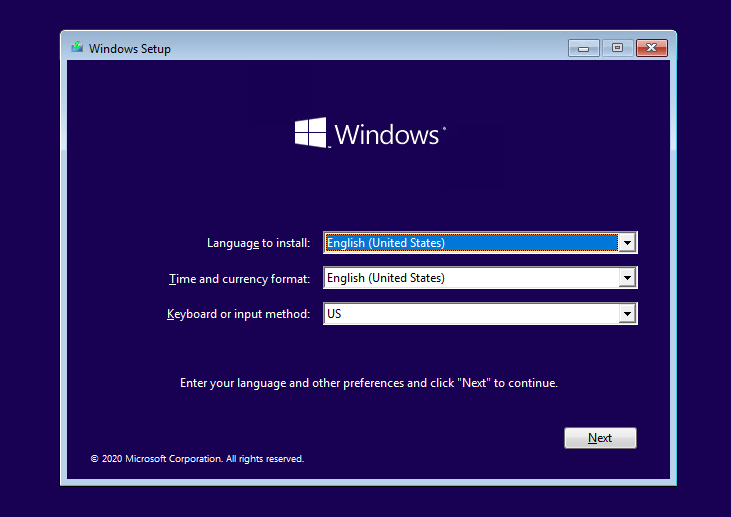
Connect to the server and start the process of installing **Windows**:
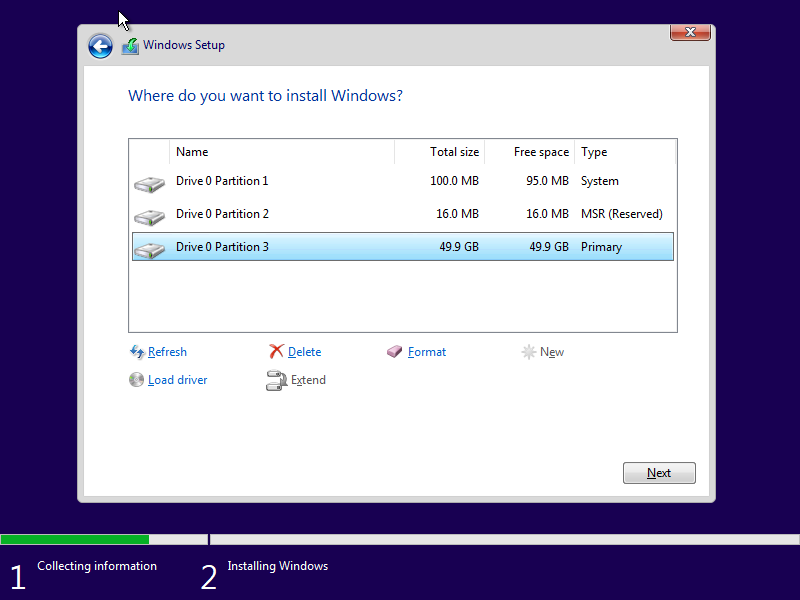
Next we create partitions and install the OS on the main drive with sufficient memory.
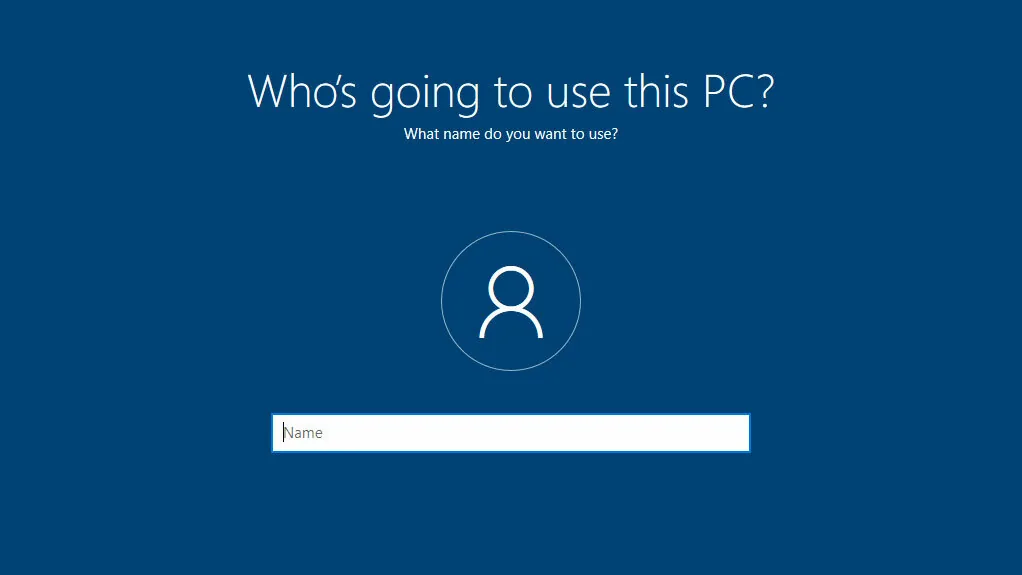
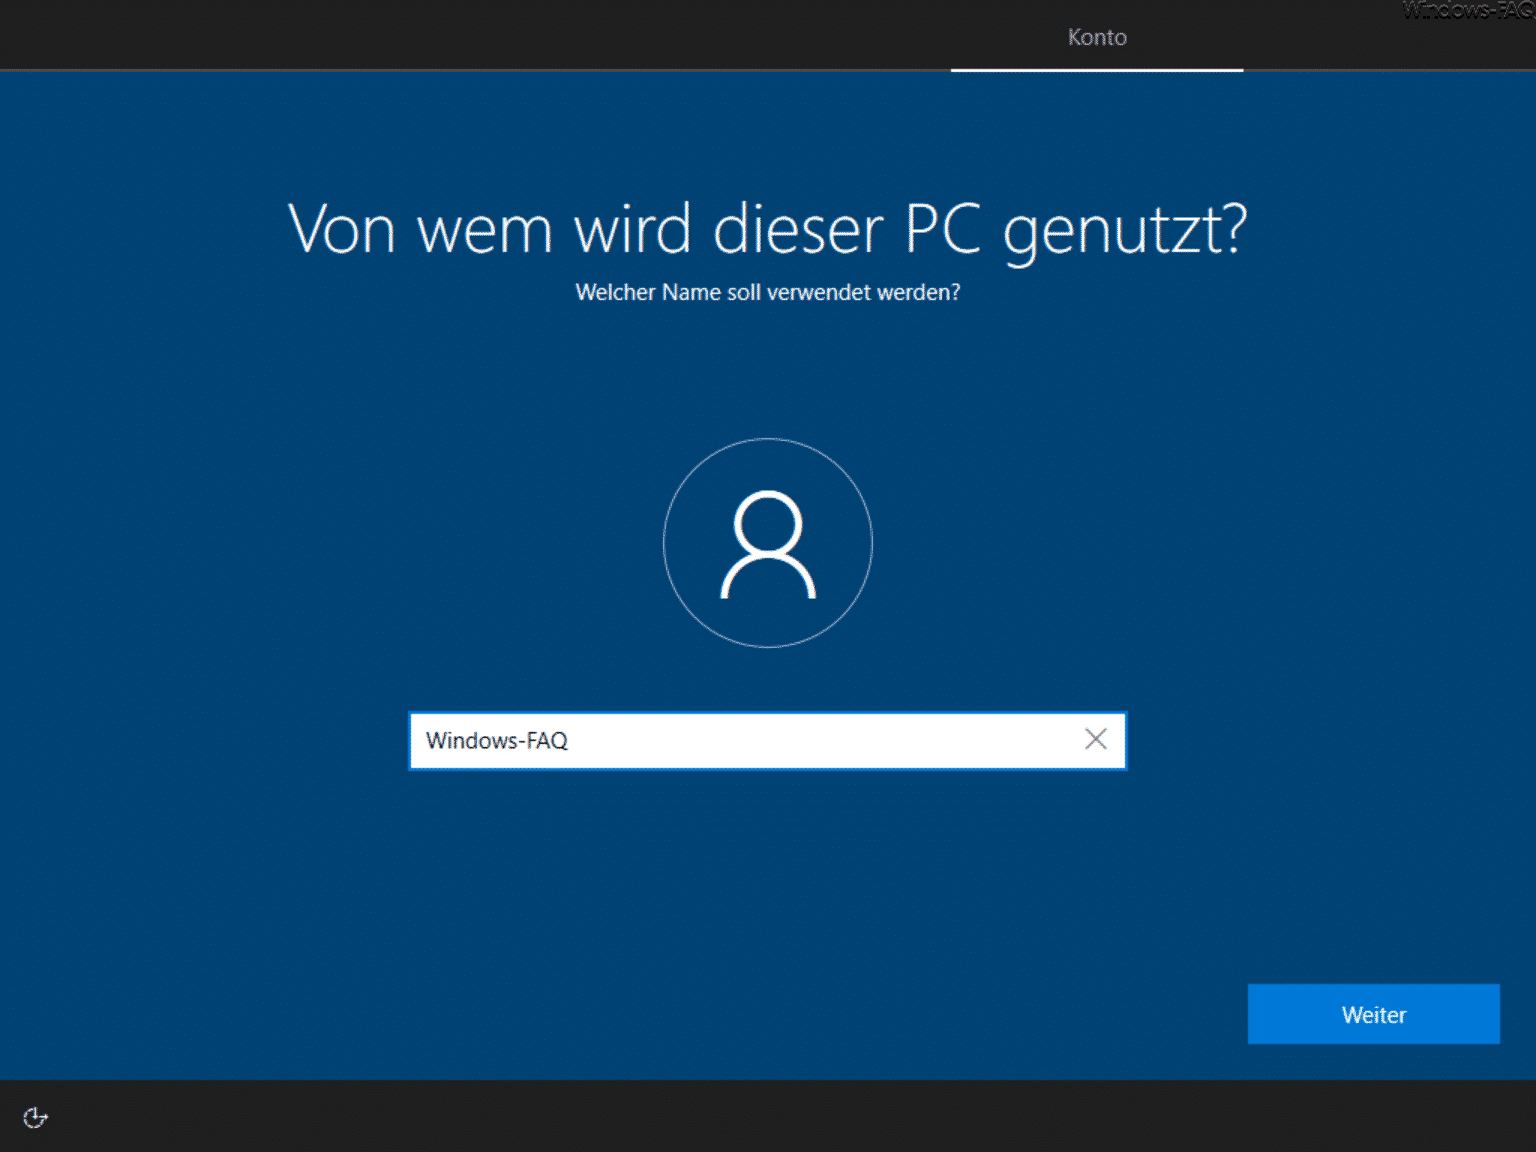
After the primary installation is complete, proceed to user configuration. The first step is to specify a name.
And then the user password.
{% hint style="warning" %}
The password must be specified, otherwise you will not have access to the **RDP**.
{% endhint %}
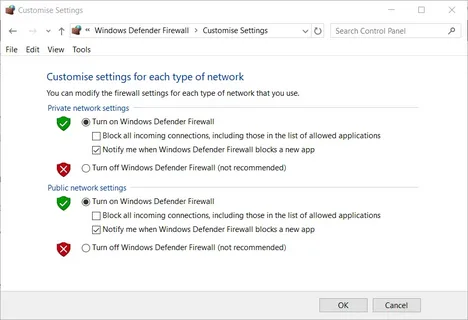
Once the installation is fully completed, we need to go to the Windows Firewall settings and disable it completely to avoid connection blockages.
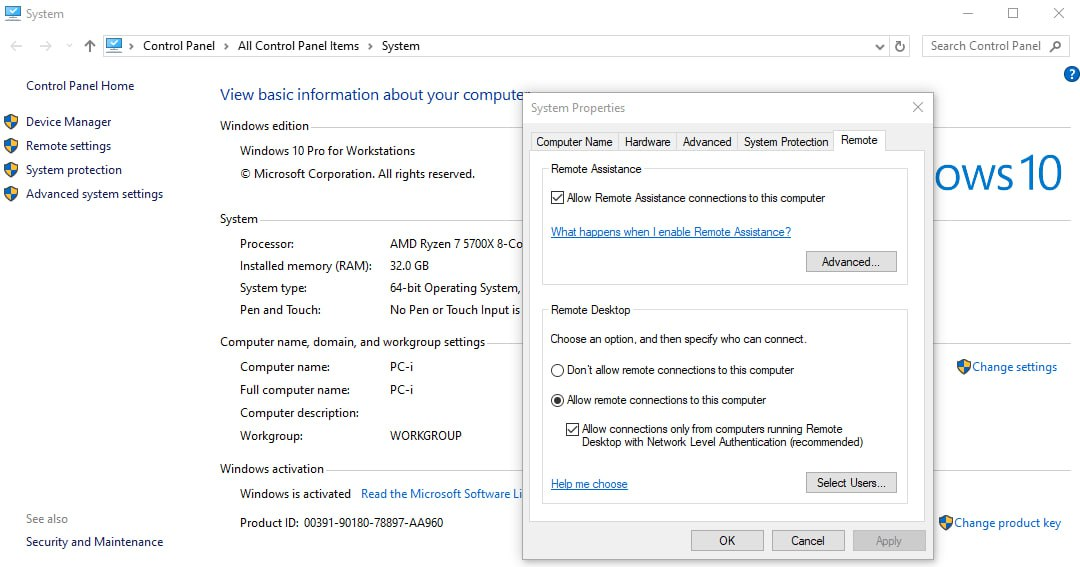
Next, you need to enable Windows Remote Access (RDP) in the appropriate settings.
{% hint style="warning" %}
And also do not forget to remove the tick from the «Allow connections only...».
{% endhint %}
Saving the changes. Then turn off our Windows.
{% hint style="info" %}
When the OS shuts down, the vKVM process stops on our host server
{% endhint %}
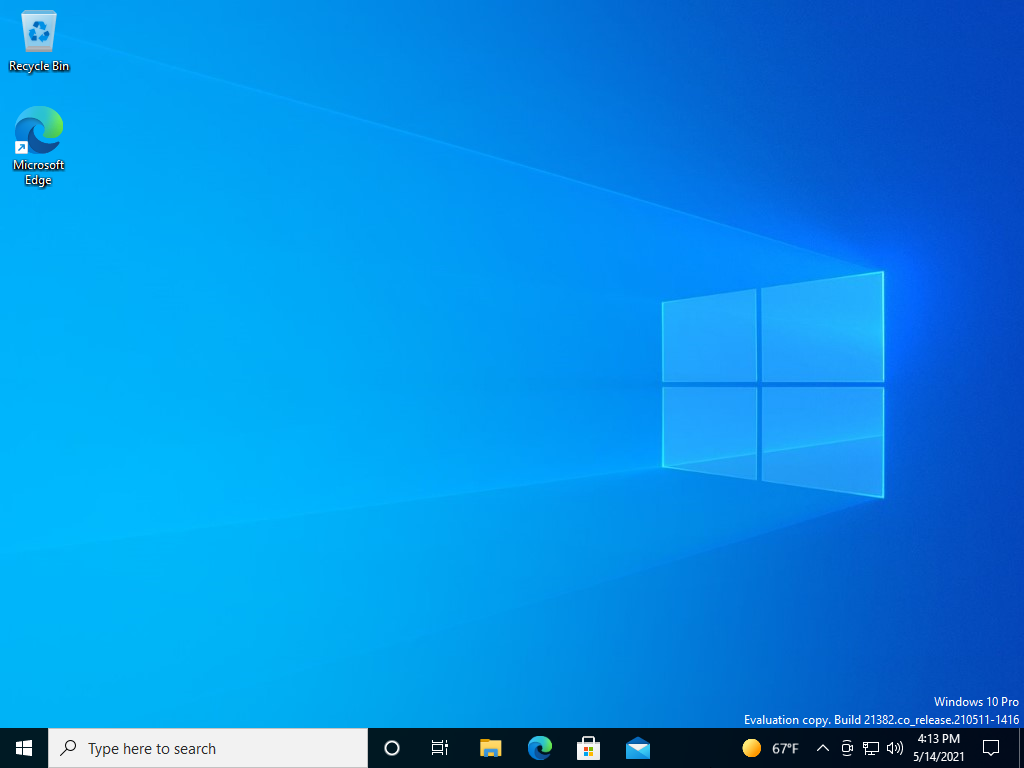
Now we load our dedicated server from the main disk on which Windows has been installed and connect using the created account.